Naoe and Yasuke’s ongoing journey through the Wide Wide World of Bastards continues with The Naginata, a panicky, flopsweaty stooge who doesn’t even have the honor of fighting an old drunk one-on-one given the opportunity.
He’s gonna have to see Naoe and Yasuke, though, whether he likes it or not. And oh, make no mistake, he’s definitely not gonna like it. But, our heroes have to actually get to him first, and there’s a very large castle between them and their goals. Let’s fix that.
Preparation
Nothing special for this one, although activating that Eagle Point at the top of Sakamoto Castle ahead of schedule will make life a little easier a bit later. If you wanna blow some extra time, taking out the daicho gets you a pretty nice chunk of XP. Past that, upgrading is always recommended. If there’s any one skill you might wanna invest in, it’s the one that makes an opponent vulnerable after just parrying then hitting the dodge button. It’s mostly in case you get in a swordfight in the final section but it’s useful in general.
The mission (Showdown in Sakamoto)
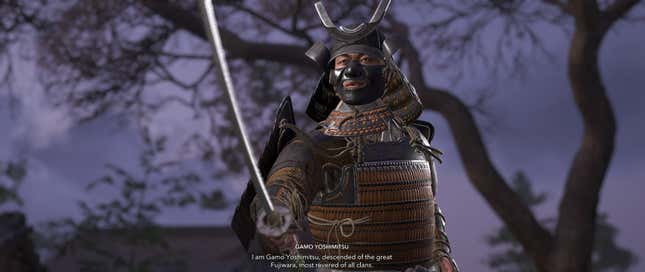
When our merry band gets the show on the road, you’ll start with Yasuke, who’s tasked with taking out Gamo Yoshimitsu. Thankfully, he’s not related to everybody’s favorite futuristic samurai outlaw from Tekken, but is instead just a badass Lecter-mask wearing samurai. Imagine if it was, though, and having to explain why Yasuke got pieced up in 30 seconds with a 10-hit combo? The mind reels.
Anyway, focus up, Gamo’s waiting inside a little gated off area inside the castle. There’s a front door, but nah, take the immediate right before you get there, go through the side and take out the two guards here first. That’ll just make life a tiny bit easier when you actually do walk further into the courtyard and challenge Gamo to a swordfight. Unlike his boss, though, Gamo Yoshimitsu will actually stand on business and fight Yasuke. He’s a pretty standard enemy, all things considered, just be aware that he likes to toss a random red attack in there as a counter after you’ve made him vulnerable and started slashing away. Again, though, he’s light work otherwise.

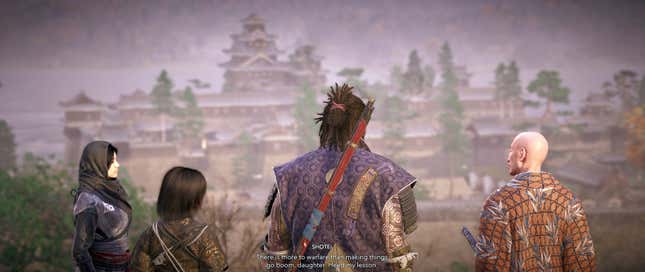
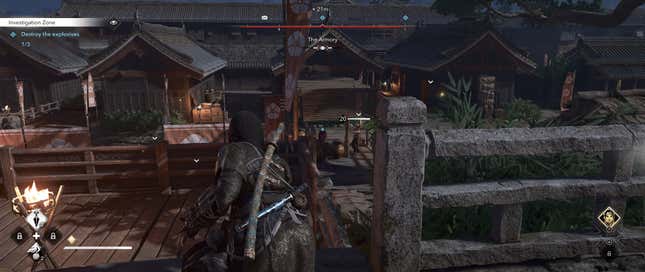
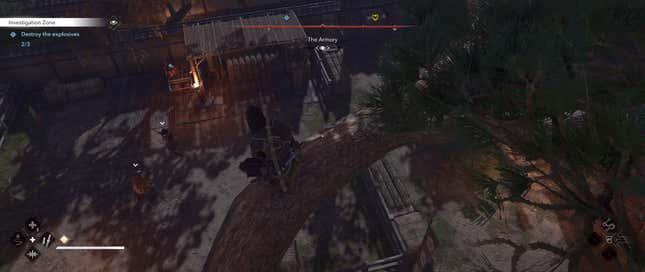
Once he’s dead, a cutscene will start. Old man Shotei will yell at clouds about his daughter for a minute. And then we switch to Naoe. You’ll get a dialogue prompt during this cutscene to flirt a little with Katsuhime if you’re planning on trading shuriken for pink triangles a little later, but once the scene’s done, you’ll be tasked with blowing up three barrels of explosives protected around this little enclosed area. Climb the wooden structure straight ahead, assassinate the dude blocking your way on the way up, and shank the sniper to your left after that.

From where the sniper was standing, you should have a good angle on the first explosive. Detonate it with a kunai, then circle back around to the spot where you started.
Follow the wall to the right this time, take out the first guard you see straight ahead, get a good angle from where you stand, and detonate the second barrel.
For the third barrel, head further along the wall, into the lit, enclosed area. Sneak in quick to kill the guard in here; head outside through the other end, and take out the patrolling guard in front of you. Once he’s dead, you’re actually gonna double back, get onto the roof of that enclosed area you were just in. There’s a ledge with a Tool Refill box and a hanging tree branch you can traverse to get a perfect angle on hitting the final explosives. Hop across the trees to get to the other side of the courtyard, taking out the sniper there along the way, and head left to meet up with Katsuhime. After the cutscene, dive off the roof, and take a quick swim to meet up with Shotei.
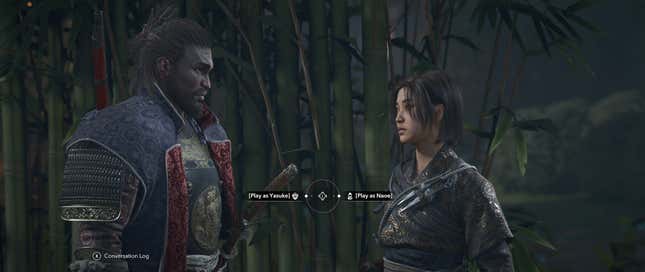
After a cutscene of Kagemitsu having a hissy fit about your continued survival, you can choose who you want to finish the job. Picking Yasuke means putting him in a Kung Fu Joe scenario, and even with some excellent gear, the sheer numbers game makes the direct approach a nonstarter. Naoe will have an easier time with this by far. Go with her.

Once you’ve made your choice, sneak into the bushes, tag as many enemies in the immediate area as you can so you can keep tabs on who’s snooping around. There’s two soldiers patrolling the dirt path, and two on the stairs to the house on the left. Those four have the best chance of spotting you before you get where you need to go, so unalive these guys first, climb up onto the perimeter wall here, and follow it around the corner until you’re directly in front of the tree grapple point that can swing you into Castle Sakamoto proper. Tag the enemies here, then make your approach.
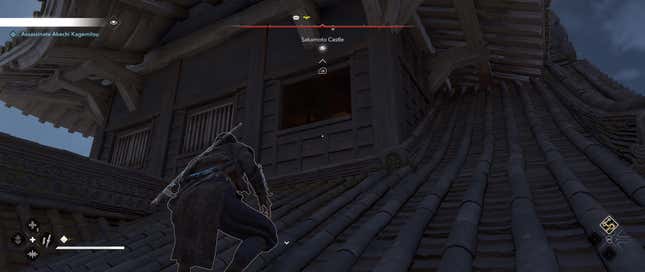
Climb about two stories up, then make your way to the backside of the castle. There’ll be an open window you can sneak into. Use Eagle Vision to look at the area one floor down to see Kagemitsu waiting for you with a single patrolling guard.
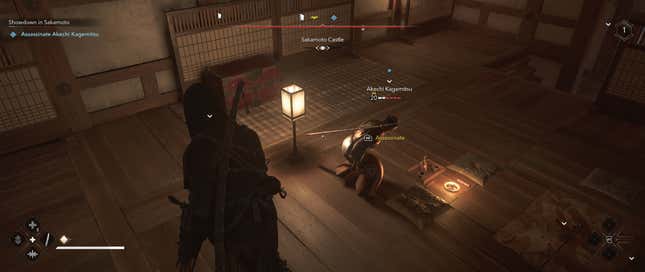
Wait till the patrolling guard is walking towards the window on the far side of that room, and head down. Hide behind the divider until the guard turns away from you, and move in for the big-fat kill on Kagemitsu. Now, even with a bunch of +1 Assassination perks on, this guy has a whopping six health segments. You’ll still want to attempt the assassination to knock off a bunch of ‘em, but chances are good you’ll have to finish him off the hard way. Kill his pushover guard first, then focus up.
Kagemitsu won’t have much left on his life bar, but he’s gonna fight like hell regardless. His Naginata combos are quick and do a massive chunk of damage each time. You can dodge them to get the vulnerable status, but you won’t have much time to capitalize. You might even want to consider using the Tanto more just to sneak in more hits. Choose your moments carefully, and he’ll die like the rest.
You’ll get his naginata for your trouble, but after he’s done, head back to the tower on the hill where you started this quest for a quick debrief, more XP, and a new legendary bow to play with.
.